部署 Hexo
一、将 Hexo 部署到 gitee 上
在本地的 hexo 博客目录中通过 npm 安装插件:
1 | sudo cnpm install hexo-deployer-git --save |
修改配置文件 _config.yml:
1 | deploy: |
之后在博客文件夹下执行一系列命令,就会将博客部署到 gitee 上面:
1 | hexo clean |
然后在 gitee 上面仓库中操作 gitee pages 服务即可。
部署成功之后,就可以通过 gitee 提供的链接访问网站了,链接如下:https://z2huo.gitee.io/hexo-blog/。
但是遇到了一个问题,网站中所有的 css 文件都 404 了,获取不到,从网上面查阅资料了解到,gitee 上面部署博客的仓库的名称需要与注册 gitee 的用户名一致,即 z2huo。
所以新建与 gitee 用户同名的仓库,重复一遍上述的步骤,所有的 css 文件就能够访问到了。
这里发现了一个 gitee 上面的特点:如果仓库名和 gitee 用户名称一致的话,gitee pages 服务提供的网站地址会与其他情况有所不同:
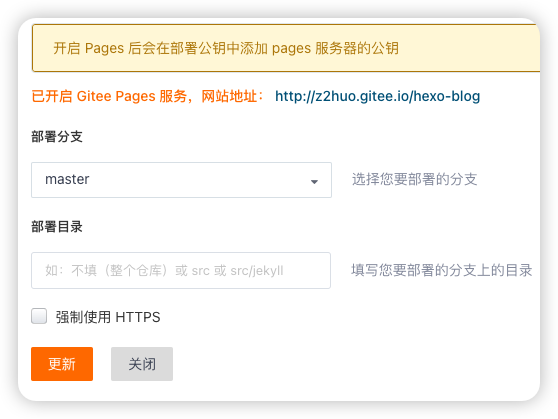
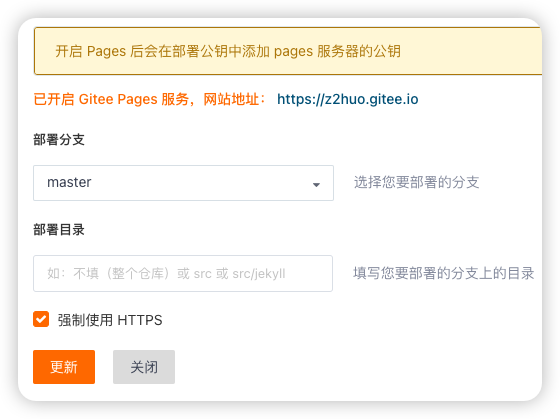
可以看到上面两个截图中网站地址的差异。
二、将 Hexo 部署到阿里云 ECS 上
1、前提条件
1.1 登陆服务器为 root 用户
以下的操作建立在 root 用户权限之下,如果权限不足请申请 root 权限或采用 sudo 关键字
1.2 为 ECS 实例分配密钥对
本地连接 ECS 实例的方式可以选择用户密码,我接下来的操作因为在购买 ECS 的时候即分配了密钥对,所以在连接 ECS 实例的时候都通过 ssh 链接的方式。
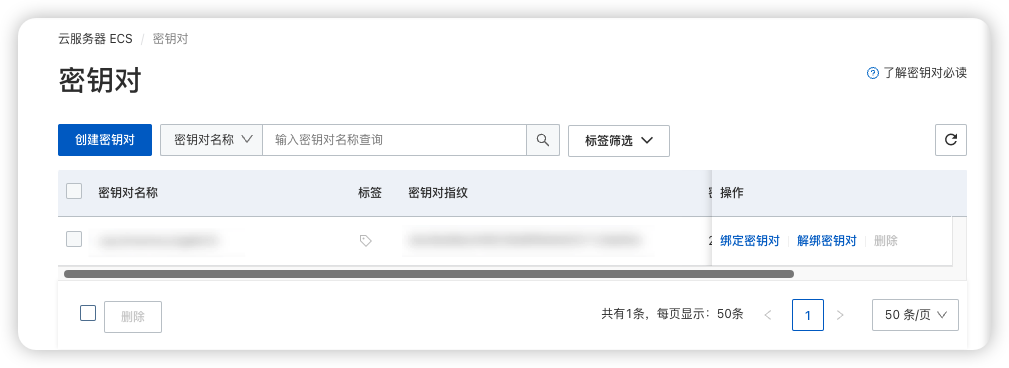
新建密钥对并绑定密钥对到 ECS 实例后,会将公钥保存在服务器的 ~/.ssh/authorized_keys 中,然后让用户下载私钥到本地,我们放到本地机器的 ~/.ssh/ 目录下。
1.3 本地存在多个密钥对的情况
我本地除了有用来登陆 ECS 实例的密钥对外,还有登陆 github 的密钥对,还有登陆 gitee 的密钥对,可以通过在本地用户 home 根目录下创建 ~/.ssh/config 文件来指定需要连接的主机名(IP 地址)的证书位置,config 文件示例如下:
1 | Host github |
这样在通过 ssh 命令连接远程主机时就可以省略一些参数了,比如在没有 config 的情况下,连接 ECS 时不通过 -i 参数指定证书文件地址,输出如下:
1 | sudo ssh root@111.111.111.111 |
配置了 config 之后,可以通过如下方式直接连接到 ECS 实例:
1 | ssh aliyun |
在实际操作中,上面的配置文件中有一个问题,证书文件的位置中,通过 ~ 来代指用户 home 目录,连接时会有问题,所以将其替换为绝对路径,即 /Users/myAccount/.ssh/github
1.4 需要安装 git 和 nginx
需要安装 git 和 nginx,操作如下:
1 | apt install git nginx |
2、在 ECS 上创建 git 仓库
建立文件路径。
1 | mkdir /var/repo/ |
修改目录权限,因为我是通过 root 用户登陆的服务器,所以不需要修改目录的权限。当然,如果新增一个用户来专门用来执行部署 hexo 博客的操作的话,可以单独新增一个用户,之后修改目录的归属权等,之后的修改目录权限的操作都是在这个前提之下。
1 | chown -R $USER:$USER /var/repo/ |
创建远程 git 仓库
1 | cd /var/repo/ |
3、配置 Nginx 托管文件目录
创建文件路径。
1 | mkdir -p /var/www/hexo/ |
修改目录权限。
1 | chown -R $USER:$USER /var/www/hexo |
修改 nginx 配置文件中的 root,指向上面新增的目录。
1 | vim /etc/nginx/nginx.conf |
修改内容如下:
1 | # For more information on configuration, see: |
重启 nginx 服务
1 | service nginx restart |
此时,就搭建好了 nginx 服务器,因为修改了 root 指向的目录为 /var/www/hexo,想要测试的话在该目录下新增 index.html 文件,之后通过 ECS 服务器的 ip 访问即可。
4、创建 Git 钩子文件
在新增的 hexo-blog.git 仓库中新增一个钩子文件。
1 | vim /var/repo/hexo-blog.git/hooks/post-receive |
输入文件内容如下:
1 | #!/bin/bash |
保存文件后赋予该文件执行权限。
1 | chmod +x /var/repo/hexo-blog.git/hooks/post-receive |
5、将 hexo 博客部署到 ECS 的远程 git 上
修改本地的 hexo 博客的 _config.yml 文件,最后内容如下:
1 | deploy: |
之后在本地执行 hexo 博客的部署操作
1 | hexo clean |
6、通过 ECS 的 ip 来访问部署的博客

相关链接
OB links
OB tags
#Hexo #SSH #Nginx #Git #建站